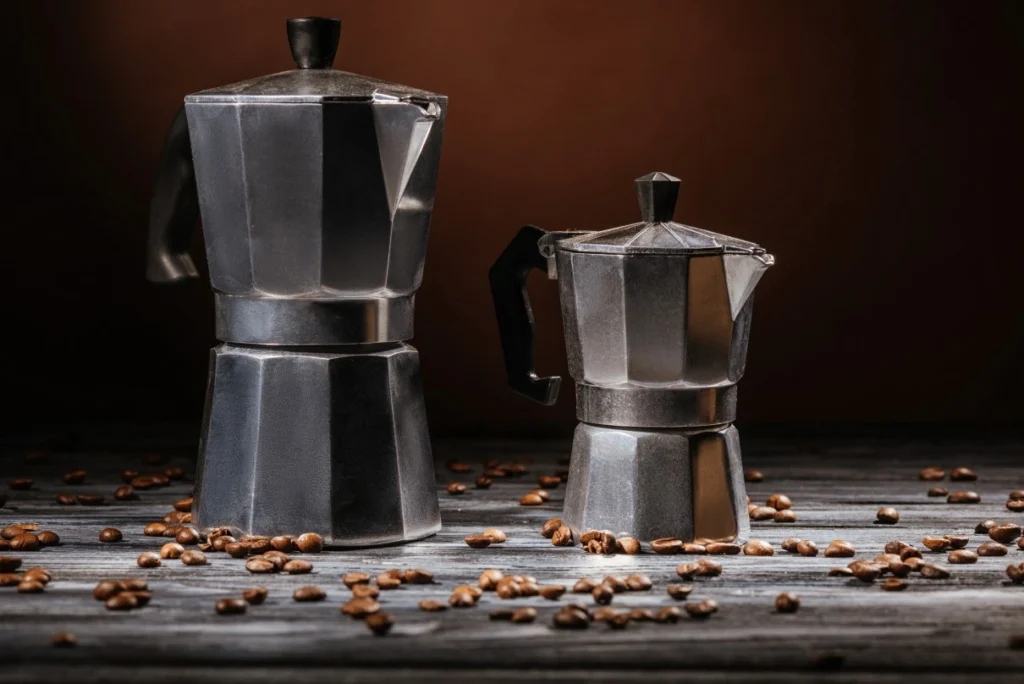
Few things compare to the comforting aroma of freshly brewed coffee filling the kitchen, especially when made in a traditional coffee percolator. While more modern methods like drip machines and single-serve pods have taken the spotlight in many households, coffee percolators persist among enthusiasts who appreciate their bold and robust brew. Achieving richer flavor from a percolator, however, requires attention to technique, tools, and timing.
A perfectly brewed pot from a coffee percolator offers a depth of taste that’s deeply satisfying. Whether you're savoring a solo cup during a quiet morning or sharing the brew over breakfast with loved ones, mastering percolator brewing ensures every sip is worth the time. Here's how to coax the fullest body and taste from your coffee percolator consistently.
Choosing the Right Coffee for Your Percolator
The foundation of flavorful percolated coffee begins with the beans. Since the brewing method involves cycling hot water through the grounds multiple times, selecting the right roast and grind is essential.
Whole Beans vs Pre-Ground
Grinding your beans fresh ensures optimal flavor. Whole beans keep their oils and aroma intact longer than pre-ground options. For percolators, a coarse grind prevents bitter-tasting over-extraction and fine particles from slipping through the filter basket.
Roast Profile
Medium to dark roasts are ideal for percolators. These roasts hold up well under repeated brewing cycles, offering rich, sometimes smoky characteristics that balance beautifully with the robust extraction.
Popular varieties like Colombian, Sumatran, and Brazilian beans deliver full-bodied flavor. Blends labeled "percolator roast" or “campfire style” often work well too.
The Importance of Grind Size and Consistency
Grind size has a direct impact on flavor extraction. A coarse grind prevents clogging the basket and avoids the bitter edges that a fine grind can cause during prolonged brewing.
Why Coarser is Better
Think sea salt, not powdered sugar. A coarse grind slows the seepage of water, allowing a steady release of flavor without overwhelming the brew. Uneven grinds—caused by dull blades in electric grinders—can make for unpredictable cups, with some sips tasting flat and others overwhelmingly strong.
If you’re serious about consistent excellence, a burr grinder is your ally. It crushes beans uniformly, giving better control over extraction—vital for the nuances of percolation.
Water Matters More Than You Think
Flavorful coffee isn’t just about beans—it’s also about water. After all, it makes up more than 98% of your cup. The best coffee percolator brewing starts with clean, cold water.
Filtered and Fresh
Tap water with too much chlorine or mineral imbalance can dull your brew. A simple water filter pitcher, or using bottled spring water, often makes a noticeable difference in taste. Avoid distilled water, as it lacks the minerals needed to offset acidity.
Measuring Right
Start with one cup of cold water per cup of coffee you want to brew. Some prefer adding an extra half cup to account for evaporation, especially if brewing at higher temperatures.
Assembly: Getting Your Percolator Ready
Assembling your percolator is more than tightening metal parts together. Every element plays a part in delivering a flavorful brew.
- Insert the stem into the pot first.
- Place the filter basket on the stem.
- Add your coarse-ground coffee (typically one heaping tablespoon per cup of water).
- Place the perforated cover over the basket, securing it if your model requires.
- Confirm the lid is fitted snugly to avoid heat loss and uneven brewing.
Double-check that no grounds have spilled into the water chamber. Even a few loose bits can introduce a scorched or bitter flavor by the end of the cycle.
Heat Control: Finding the Sweet Spot
The heart of coffee percolator brewing lies in managing heat. Too hot, and your coffee turns acrid. Too cool, and you end up with pale, under-extracted liquid. The goal is a gentle, steady percolation.
Gentle and Gradual
If you're using a stovetop percolator, start heat on medium until you see the first gentle bubble of coffee into the glass knob or top chamber. That’s your sign to reduce heat to low. Avoid boiling—true boiling can scald the grounds and ruin flavor.
For electric models, let the percolator do the regulating, but always monitor brewing the first few times to ensure proper cycling.
Brewing Time
Ideal brew time varies by preference and percolator size, but a general guide is:
- 7–10 minutes for mild to medium brew
- 10–12 minutes for a stronger, bolder cup
Do not brew for longer than 12 minutes. Over-brewing is a common culprit behind bitterness and harshness.
Post-Brew Best Practices
Once your brew cycle is done, turn off the heat immediately and remove the basket to stop grounds from steeping further.
- Pour the coffee right away to avoid it sitting on the heating plate
- If you’re storing it in a thermal carafe, pre-heat the carafe with hot water for better warmth retention
- Rinse the filter, stem, and basket thoroughly to avoid build-up of oils or coffee residue, which can spoil flavor over time
Just like seasoning a cast iron skillet, cleaning your coffee equipment well helps preserve its performance and flavor output.
Troubleshooting Common Percolator Problems
Even seasoned brewers can find their coffee percolator producing inconsistent results. Identifying small missteps can restore that full-bodied flavor you intended.
Why Is My Coffee Bitter?
- Grind may be too fine
- Brewed too long
- Heat too high
- Old or stale coffee beans
Why Is My Coffee Weak?
- Grind too coarse
- Not enough coffee used
- Brew time too short
Why Is There Grounds in My Cup?
- Filter basket not fitted correctly
- Coffee too finely ground
- Damaged or missing spreader plate
Making note of adjustments after each brew helps pinpoint what delivers the best results with your percolator model.
Upkeep for Long-Term Performance
Regular maintenance does more than keep your coffee fresh—it extends the life of your percolator. Metal percolators, especially those made of stainless steel, benefit from non-abrasive cleansers and thorough drying after washing.
Every 5–10 uses, descale your percolator using one part vinegar to two parts water. Run a brew cycle with the solution, then repeat with fresh water twice to flush residue.
And don’t forget the aesthetics. If your percolator lives on an open shelf or countertop, keep it polished—it can be as much a part of your kitchen’s charm as your counters or fluted glass accessories.
Pairing Your Coffee with the Setting
Brewed right, a percolator coffee deserves an ambiance to match. Whether paired with breakfast under morning light or cradled near your favorite tall indoor plant, the environment enriches your sensory experience.
If you're someone who’s invested in turning your home into a haven, a well-brewed pot can feel like nourishment for both body and spirit. Think of those quiet early mornings in a kitchen you've lovingly styled—soft rugs, warm hues, the steam rising in gentle spirals. Your percolator fits beautifully in that picture.
Final Thoughts
A coffee percolator, when used with care and attention, produces a coffee experience rich in flavor and nostalgia. From grind size and roast selection to water quality and careful heat control, every element contributes to the result in your cup.
With practice, your coffee percolator will become more than a tool—it might just become part of your home’s ritual. And for those who live for the warmth of good design and good coffee alike, that’s a pairing that’s tough to beat.
For more home-centered ideas—from how to care for a cyclamen to starting your own jasmine garden—there’s always another way to create small moments of joy around your space.


